前回の記事では、子テーマを利用したテーマのカスタマイズについて、ご紹介しました。今回からは、WordPressの公式テーマであるTwentyTwelveを例にカスタマイズしていく方法について、ご説明したいと思います。
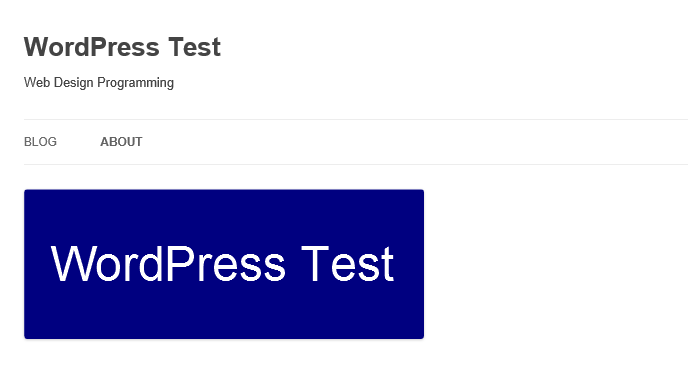
サイトのデザインで、まず目に入るのは、やはりヘッダー周りでしょう。TwentyTwelveでは、上から順番に、
・サイトのタイトル(テキスト)
・メニュー
・ヘッダー画像
となっていますので、これを、
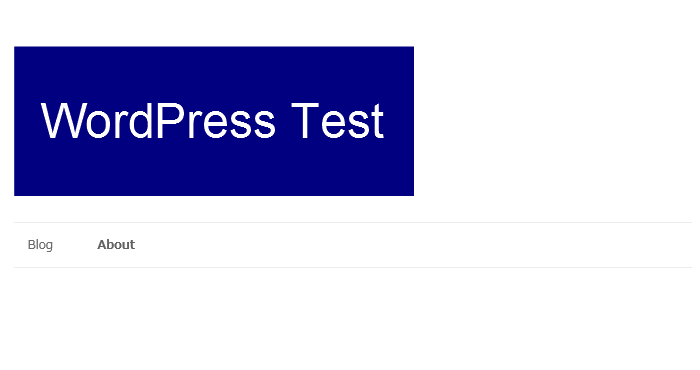
・ヘッダー画像(サイトのタイトルロゴ)
・メニュー
に変更してみたいと思います。
TwentyTwelveでは、この様なレイアウトです。
これを以下の様に変更します。
header.phpを変更して表示の順番を変えるのが簡単な方法です。
TwentyTwelveのheader.phpの36行目付近は以下の様になっています。
; ?>)
ヘッダーイメージの記述を最初に移動します。
外観->ヘッダーの設定で、「ヘッダー画像上にテキストを表示する。」のチェックを外せば設定は終了です。
Sponsored Link