今回は、Andoroidアプリケーション開発環境Eclipse IDE with built-in ADTの入手とインストール方法を紹介したいと思います。
あらかじめJAVA開発環境が必要なので、JDKのインストールを参考にして環境の構築をしておきましょう。
Eclipse IDE with built-in ADTの入手
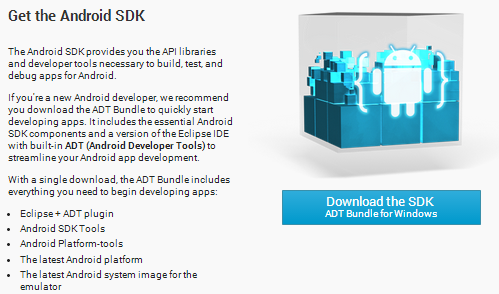
Eclipse IDE with built-in ADTは、Android Developerのサイトで入手できます。下記リンクの”Download the SDK”ボタンをクリックします。
License Agreementなどが表示されるので確認します。
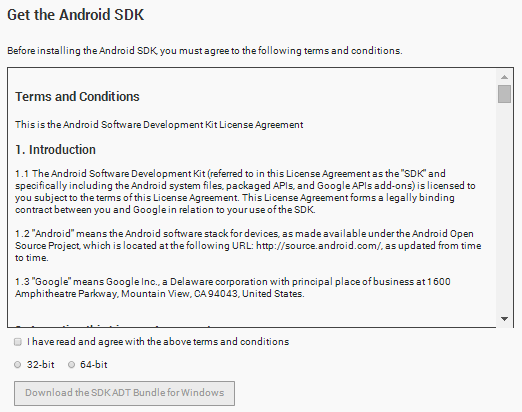
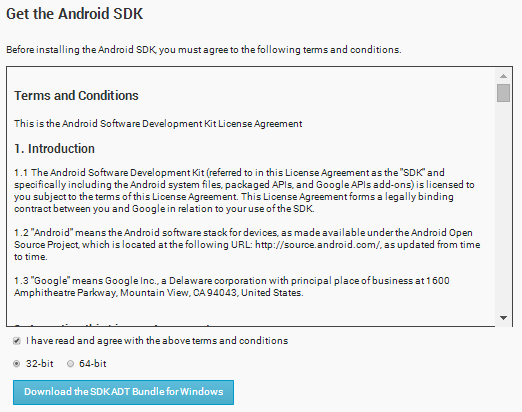
“I have read and agree with the above terms and conditions”にチェックをいれます。また32bitか64bitの何れかにチェックを入れて、”Download the SKD ADT bundle for Windows”ボタンをクリックすると、ダウンロードが開始されます。
Eclipse IDE with built-in ADTのインストール
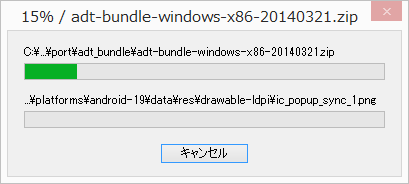
Eclipseベースですので、ダウンロードしたファイルを好きな場所で展開すればインストールする事が出来ます。
![]()
ファイルを解凍します。
解凍して展開したディレクトリの
\eclipse\eclipse.exe
がEclipse IDEを起動するファイルです。
以前に比べて非常に導入が楽になっています。
Sponsored Link